|
| Tkinter Python 画像処理. |
H.Kamifuji . |
- はじめに
ここでは、下記の参照ページを参照させて頂き、画像処理について、勉強します。
以下のコードでは python のライブラリ、numpy, Pillow を使用しています。インポートできないときには、pip を利用してインストールしてください。
python -m install numpy
python -m install Pillow
上記のコマンドは、Windows の場合、管理者として実行するで起動した PowerShell などで実行してください。
また、Linux の場合、管理者ID root でログインするか sudo コマンドなどで実行してください。
- 目 次
- 画像処理の概要
画像の加工は単純に各ピクセルの色を画像の端から端まで順番に変更することで実現しています。
以下のコードは、ベースとなるもので、画像から各ピクセルを読み出し、何も加工せずに新なイメージを作成します。
from PIL import Image
import numpy as np

# 元となる画像の読み込み
img = Image.open('sample01.jpg')
#オリジナル画像の幅と高さを取得
width, height = img.size
# オリジナル画像と同じサイズのImageオブジェクトを作成する
img2 = Image.new('RGB', (width, height))
img_pixels = np.array([[img.getpixel((i,j)) for i in range(width)] for j in range(height)])

# 何もせずに img2 へコピーする。
for y in range(height):
  for x in range(width):
    # 画像を作成する
    r,g,b = img_pixels[y][x]
    img2.putpixel((x,y), (r,g,b))

img2.show()
img2.save('edit_img_02.jpg')
最近は、それなりの実メモリを積んでいるので、大勢に影響無いが、昔(実メモリが kB 時代)は、下記のように width のループを内側にした方が高速だと言われていた。
from PIL import Image
import numpy as np

# 元となる画像の読み込み
img = Image.open('sample01.jpg')
#オリジナル画像の幅と高さを取得
width, height = img.size
# オリジナル画像と同じサイズのImageオブジェクトを作成する
img2 = Image.new('RGB', (width, height))
img_pixels = np.array([[img.getpixel((j,i)) for i in range(height)] for j in range(width)])

# 何もせずに img2 へコピーする。
for y in range(height):
  for x in range(width):
    # 画像を作成する
    r,g,b = img_pixels[x][y]
    img2.putpixel((x,y), (r,g,b))

img2.show()
img2.save('edit_img_02.jpg')
上記のコードをベースに画像の加工事例を紹介します。
- 色反転
先ずは、単純な処理である「ネガのような色が反転した画像を生成する』事例から始めます。
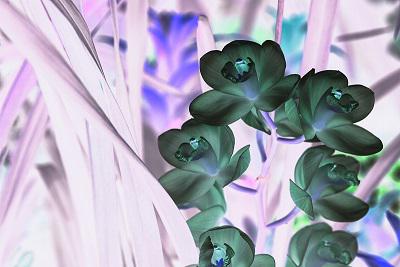
from PIL import Image
import numpy as np

img = Image.open('sample01.jpg')
width, height = img.size
img2 = Image.new('RGB', (width, height))
img_pixels = np.array([[img.getpixel((x,y)) for x in range(width)] for y in range(height)])

# 色を反転する
reverse_color_pixels = 255 - img_pixels
for y in range(height):
  for x in range(width):
    # 反転した色の画像を作成する
    r,g,b = reverse_color_pixels[y][x]
    img2.putpixel((x,y), (r,g,b))

img2.show()
img2.save('hanten_ux.jpg')
実行すると img2.show() で、Linux と Winndows10 夫々、下記のように表示されます。
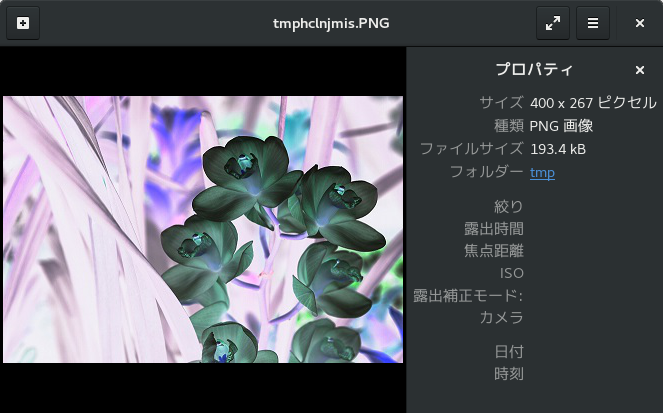
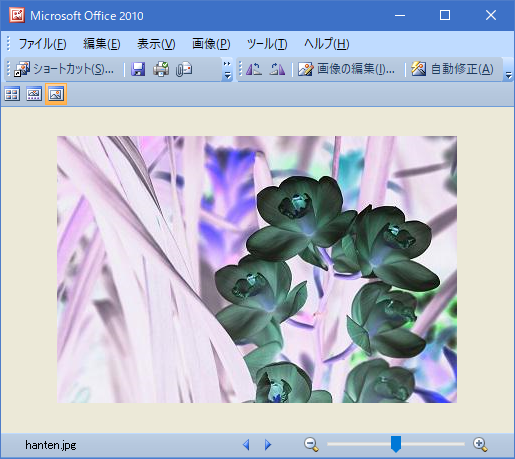
事項からは、作成された画像のみを掲載誌ます。
- ぼかし加工
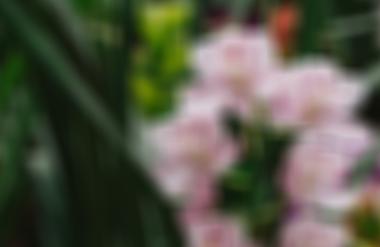
画像全体が少しかすんだような、ぼかし加工を実装します。 from PIL import Image import numpy as np img = Image.open('sample01.jpg') width, height = img.size filter_size = 20 img2 = Image.new('RGB', (width - filter_size, height - filter_size)) img_pixels = np.array([[img.getpixel((x,y)) for x in range(width)] for y in range(height)]) filter_size = 20 for y in range(height - filter_size): for x in range(width - filter_size): # 位置(x,y)を起点に縦横フィルターサイズの小さい画像をオリジナル画像から切り取る partial_img = img_pixels[y:y + filter_size, x:x + filter_size] # 小さい画像の各ピクセルの値を一列に並べる color_array = partial_img.reshape(filter_size ** 2, 3) # 各R,G,Bそれぞれの平均を求めて加工後画像の位置(x,y)のピクセルの値にセットする mean_r, mean_g, mean_b = color_array.mean(axis = 0) img2.putpixel((x,y), (int(mean_r), int(mean_g), int(mean_b))) img2.show() img2.save('bokashi_ux.jpg')作成された画像です。
- モザイク
画像全体にモザイクがかかったような画像を生成します。
from PIL import Image
import numpy as np

img = Image.open('sample01.jpg')
width, height = img.size
filter_size = 10
img2 = Image.new('RGB', (width, height))
img_pixels = np.array([[img.getpixel((x,y)) for x in range(width)] for y in range(height)])

#
def draw_partial_img(img2, start_x, start_y, partial_size_x, partial_size_y, pixel_color):
  for y in range(start_y, start_y + partial_size_y):
    for x in range(start_x, start_x + partial_size_x):
      img2.putpixel((x, y), pixel_color)

for y in range(0, height, filter_size):
  for x in range(0, width, filter_size):
    # ぼかし加工同様に画像の一部分を切り出す
    partial_img = img_pixels[y:y + filter_size, x:x + filter_size]
    # 色の配列になるように変換する
    color_array = partial_img.reshape(partial_img.shape[0] * partial_img.shape[1], 3)
    # 各ピクセルごとのr + g + bが最大値を取る物の番号を取得する
    # ようするに切り出した画像の中で一番濃い色の番号
    max_index = np.argmax(color_array.sum(axis=1))
    max_r, max_g, max_b = color_array[max_index]
    # (x,y)を起点に縦横フィルターサイズで単色(上記の色)の画像をimg2へセットする
    draw_partial_img(img2, x, y, partial_img.shape[1], partial_img.shape[0], (max_r, max_g, max_b))

img2.show()
img2.save('mozaiku_ux.jpg')
作成された画像です。
- k 平均法で画像の減色処理
k 平均法で画像の減色処理のサンプルです。
from PIL import Image, ImageDraw
import numpy as np
from numpy.random import randint


# k平均法による減色処理
def k_mean(original_img, k):
  #STEP1
  w, h = original_img.size

  # 画像を扱いやすい2次配列に変換
  img_pixels = np.array([[img.getpixel((x,y)) for x in range(w)] for y in range(h)])
  # 減色画像用の2次配列も用意しておく
  reduce_img_pixels = np.array([[(0, 0, 0) for x in range(w)] for y in range(h)])

  # 代表色の初期値をランダムに設定
  class_values = []
  for i in range(k):
    class_values.append(np.array([randint(256), randint(256), randint(256)]))

  #STEP2
  # 20回繰り返す
  for i in range(20):
    #STEP2-1
    print("ranning at iteration No." + str(i))
    sums = []
    for i in range(k):
      sums.append(np.array([0, 0, 0]))
    sums_count = [0] * k

    #STEP2-2
    # 各画素のクラスを計算
    for x in range(w):
      for y in range(h):
        min_d = (256 ** 2) * 3
        class_index = 0
        # 一番近い色(クラス)を探索
        for j in range(k):
          d = sum([x*x for x in img_pixels[y][x] - class_values[j]])
          if min_d > d:
            min_d = d
            class_index = j
        sums[class_index] += img_pixels[y][x]
        sums_count[class_index] += 1
        reduce_img_pixels[y][x] = tuple(list(map(int, class_values[class_index])))

    #STEP2-3
    # 代表色を更新
    for m in range(k):
      class_values[m] = sums[m] / sums_count[m]

  # STEP3
  # 2次元配列から加工後の画像へ変換
  reduce_img = Image.new('RGB', (w, h))
  for x in range(w):
    for y in range(h):
      reduce_img.putpixel((x, y), tuple(reduce_img_pixels[y][x]))

  return reduce_img

# 画像ファイルの読み込み
filename = "sample01.jpg"
img = Image.open("./" + filename).convert("RGB")

# k平均法による減色処理
reduce_img = k_mean(img, 5)

# 画像データの更新とファイル出力
reduce_img.show()
reduce_img.save("./reduce_ux_" + filename)
元の画像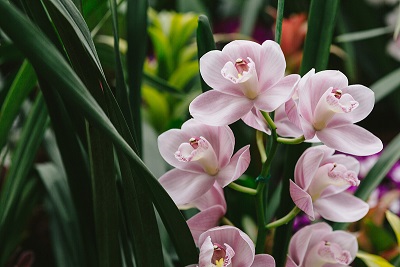
処理後の画像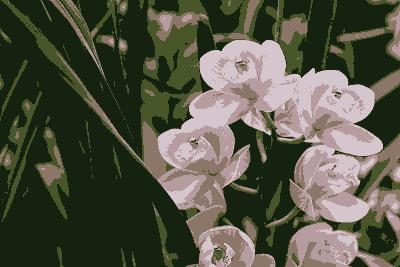
元の画像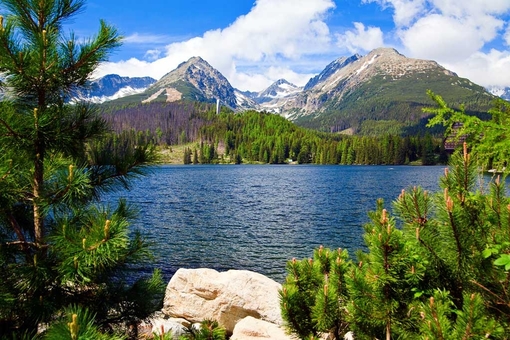
処理後の画像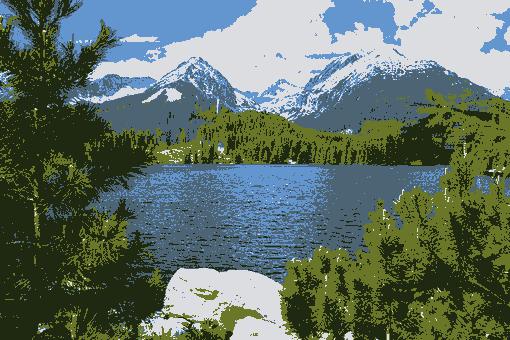
- ソーベルフィルタによる画像の減色処理
ソーベルフィルタによる画像の減色処理のサンプルです。
from PIL import Image, ImageDraw
import numpy as np
import math

# ソーベルフィルタによるエッジ検出
# def edge_filter(img):
#   return img
# ソーベルフィルタによるエッジ検出
def edge_filter(img):
  # STEP1
  w, h = img.size
  line_img = Image.new('RGB', (w, h))
  converted_pixels =
         np.array([[img.getpixel((i, j)) for i in range(w)] for j in range(h)])

  # STEP2
  for x in range(w):
    for y in range(h):
      # STEP2-1
      if x == 0 or x == w - 1 or y == 0 or y == h - 1:
        continue
      # STEP2-2
      dfx = -1 * converted_pixels[y - 1][x - 1] + converted_pixels[y - 1][x + 1]\
            -2 * converted_pixels[y][x - 1]     + 2 * converted_pixels[y][x - 1]\
            -1 * converted_pixels[y + 1][x - 1] + converted_pixels[y + 1][x + 1]
      # STEP2-3
      dfy = -1 * converted_pixels[y - 1][x - 1] + converted_pixels[y + 1][x - 1]\
            -2 * converted_pixels[y - 1][x]     + 2 * converted_pixels[y + 1][x]\
            -1 * converted_pixels[y - 1][x + 1] + converted_pixels[y + 1][x + 1]
      # STEP2-4
      d = math.sqrt(max(dfx ** 2 + dfy ** 2))
      # STEP2-5
      if d > 50 :
        line_img.putpixel((x, y),(200, 200, 200))
      else:
        line_img.putpixel((x, y),(255, 255, 255))
  return line_img


# 平均化フィルタをかけた画像を返す
def mean_filter(img, filter_size):
  w, h = img.size
  image_pixcels = np.array([[img.getpixel((x,y)) for x in range(w)] for y in range(h)])
  filtered_img = Image.new('RGB', (w, h))
  for x in range(w):
    for y in range(h):
      x1 = max(0, x - filter_size)
      x2 = min(x + filter_size, w -1)
      y1 = max(0, y - filter_size)
      y2 = min(y + filter_size, h - 1)
      x_size = x2 - x1 + 1
      y_size = y2 - y1 + 1
      mean_r, mean_g, mean_b =
           image_pixcels[y1:y2 + 1, x1:x2 + 1].reshape(x_size * y_size, 3).mean(axis = 0)
      filtered_img.putpixel((x,y), (int(mean_r), int(mean_g), int(mean_b)))
  return filtered_img


# 画像ファイルの読み込み
filename = "reduce_sin.jpg"
img = Image.open("./" + filename).convert("RGB")


filtered_img = mean_filter(img, 1)
filtered_img.save("./filtered_" + filename)


line_img = edge_filter(img)
line_img.show()
line_img.save("./line_ux_" + filename)
元の画像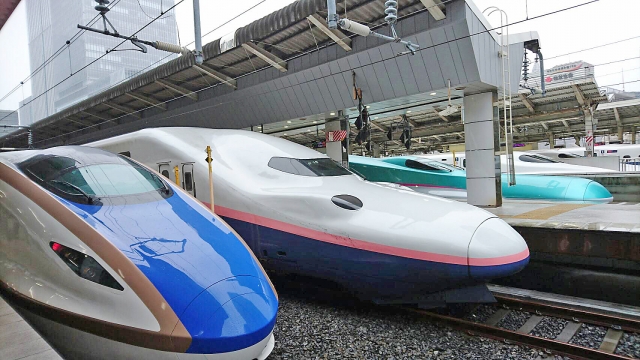
処理後の画像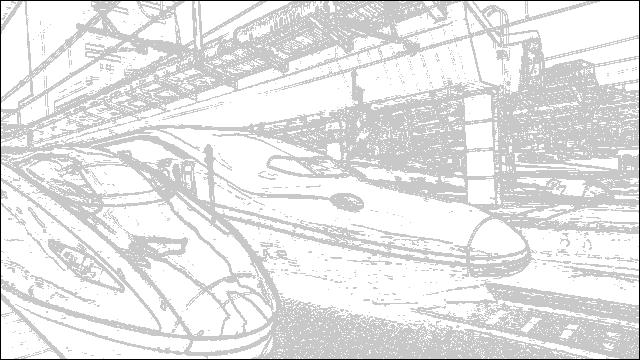
- ミニチュア風の画像作成
サンプルです。
from PIL import Image, ImageDraw
import numpy as np

# 平均化フィルタをかけた画像を返す
# def unclear_filter(img, w, h):
#   return img
# フィルタのサイズを計算
def filter_size(w, h, x, y):
  size = 0
  if y < h * 2 / 3 or y > h * 10 / 11:
    size = 1
  if y < h / 2:
    size = 2
  if y < h / 3:
    size = 3
  return size

# 平均化フィルタをかけた画像を返す
def unclear_filter(img, w, h):
  # STEP1
  image_pixcels = np.array([[img.getpixel((x,y)) for x in range(w)] for y in range(h)])
  filtered_img = Image.new('RGB', (w, h))
  # STEP2
  for x in range(w):
    for y in range(h):
      # STEP2-1
      s = filter_size(w, h, x, y)
      # STEP2-2
      if s != 0:
        x1 = max(0    , x - s)
        x2 = min(x + s, w - 1)
        y1 = max(0    , y - s)
        y2 = min(y + s, h - 1)
        x_size = x2 - x1 + 1
        y_size = y2 - y1 + 1
        mean_r, mean_g, mean_b =
	  image_pixcels[y1:y2 + 1, x1:x2 + 1].reshape(x_size * y_size, 3).mean(axis = 0)
      else:
        mean_r, mean_g, mean_b = image_pixcels[y][x]
      filtered_img.putpixel((x,y), (int(mean_r), int(mean_g), int(mean_b)))
  return filtered_img


# 彩度を上げた画像を返す
# def clear_filter(img, w, h):
#   return img
def clear_filter(img, w, h):
  # STEP1
  k1 = 2.0
  k2 = -0.5
  image_pixcels = np.array([[img.getpixel((x,y)) for x in range(w)] for y in range(h)])
  filtered_img = Image.new('RGB', (w, h))
  # STEP2
  for x in range(w):
    for y in range(h):
      r, g, b = image_pixcels[y][x]
      fr = int(min(255, max(0, r * k1 + g * k2 + b * k2)))
      fg = int(min(255, max(0, r * k2 + g * k1 + b * k2)))
      fb = int(min(255, max(0, r * k2 + g * k2 + b * k1)))
      filtered_img.putpixel((x,y), (fr, fg, fb))
  return filtered_img

# 画像ファイルの読み込み
filename = "ina.jpg"
img = Image.open("./" + filename).convert("RGB")
w, h = img.size

# 画像の彩度を上げる
clear_img = clear_filter(img, w, h)

# 画像の上下をぼかす
unclear_img = unclear_filter(clear_img, w, h)

# 加工した画像を保存
unclear_img.show()
unclear_img.save("./mini_ux_" + filename)
元の画像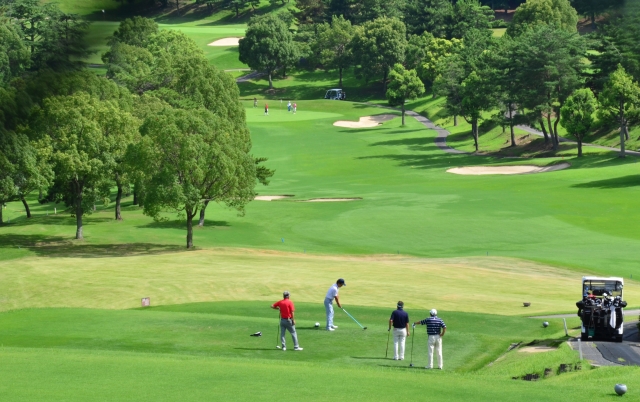
処理後の画像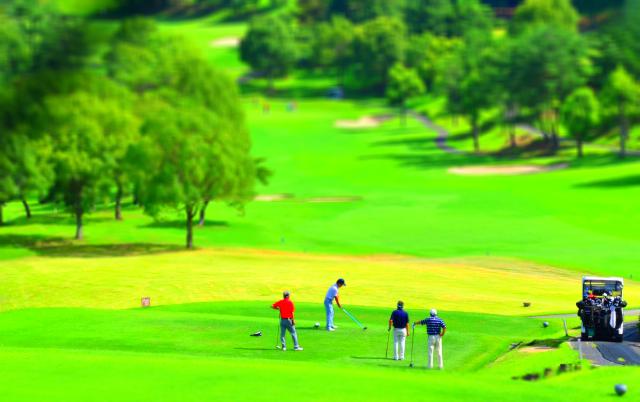
元の画像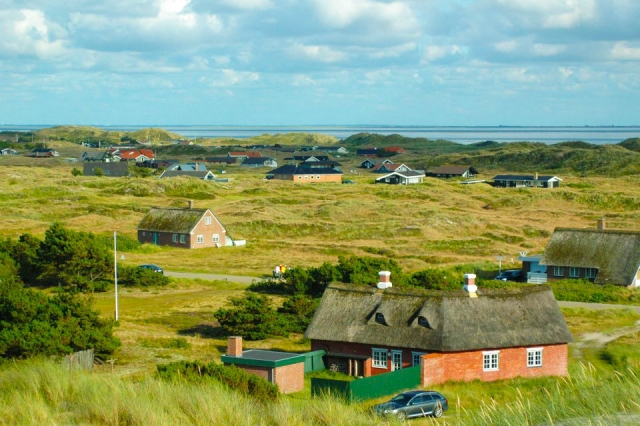
処理後の画像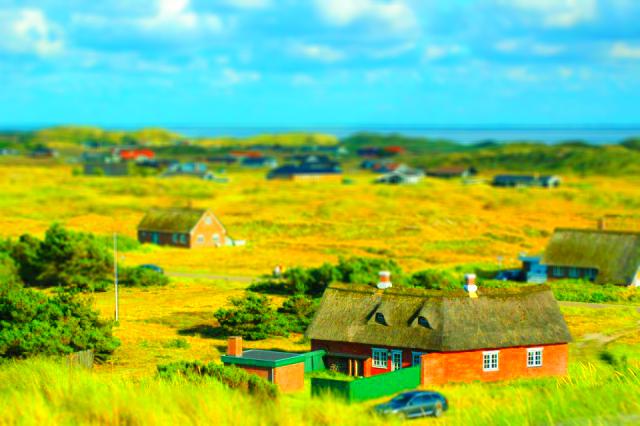
元の画像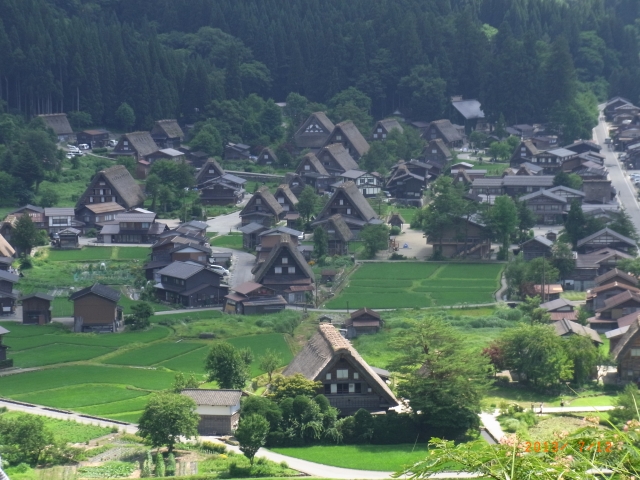
処理後の画像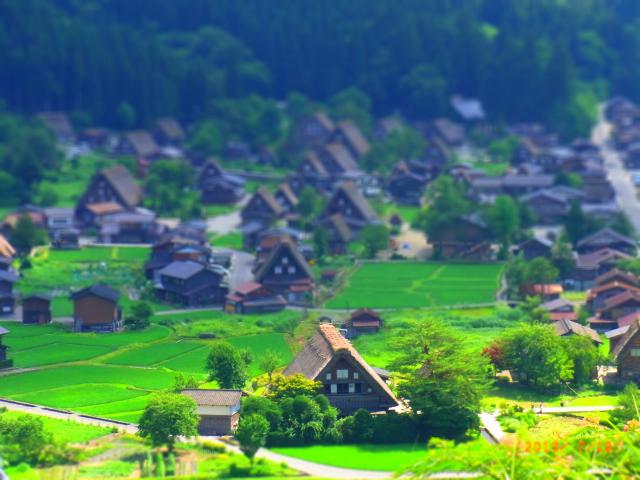
- 二値化処理(閾値を 128)
サンプルです。
from PIL import Image, ImageDraw
import numpy as np

# 色を判定して、白または黒を返す
# 引数のthresholdが閾値
def select_color(threshold, color):
  # r,g,bの平均を求める
  mean = np.array(color).mean(axis=0)
  if mean > threshold:
    return (255, 255, 255)
  else:
     return (0, 0, 0)

# 2値化した画像を返すメソッド
def to_bin(img, w, h):
  bin_img = Image.new('RGB', (w, h))
  threshold = 128

  # select_colorメソッドを使って塗る色を決めながら、新しい画像を作っていく
  np.array([[bin_img.putpixel((x, y),
    select_color(threshold, img.getpixel((x,y)))) for x in range(w)] for y in range(h)])
  return bin_img

# 画像ファイルの読み込み
img = Image.open("../images/mori.jpg").convert("RGB")
w, h = img.size
# 画像を2値化して保存する
imgb = to_bin(img, w, h)
imgb.show()
# to_bin(img, w, h).save("./bin_mori.jpg")
imgb.save("./bin_mori_ux.jpg")
元の画像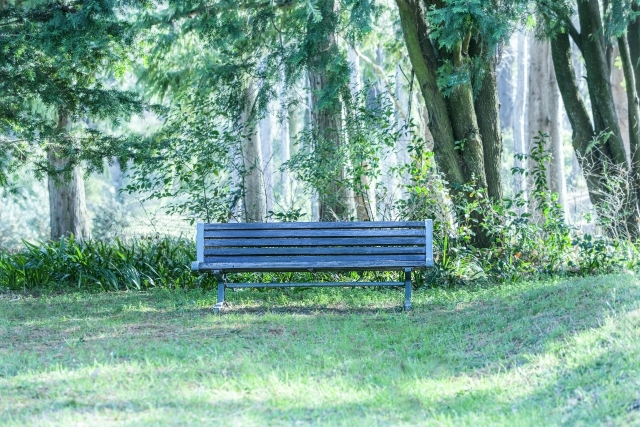
処理後の画像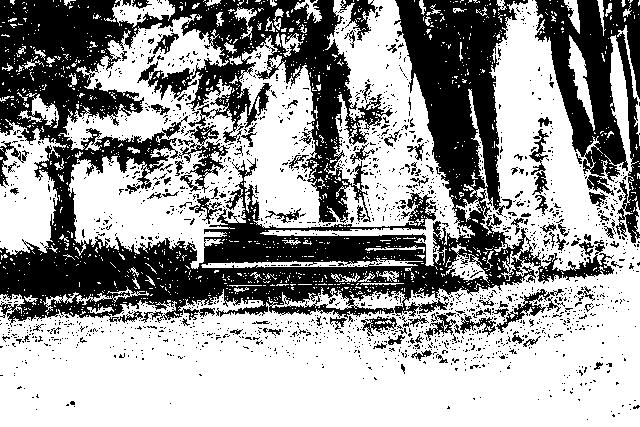
- 二値化処理(中央値を閾値)
サンプルです。
from PIL import Image, ImageDraw
import numpy as np

def select_color(threshold,color):
  mean = np.array(color).mean()
  if mean > threshold:
    return (255, 255, 255)
  else:
     return (0, 0, 0)

def to_bin(img, w, h):
  # 各画素値のr,g,bの平均を集めた配列を作る
  thresholds = []
  np.array([[thresholds.append(np.array(img.getpixel((x,y))).mean())
                                      for x in range(w)] for y in range(h)])

  # sortで並べ替えて、真ん中の値を閾値にする
  threshold = np.sort(np.array(thresholds))[w * h // 2]

  bin_img = Image.new('RGB', (w, h))
  np.array([[bin_img.putpixel((x, y), select_color(threshold, img.getpixel((x,y))))
                                             for x in range(w)] for y in range(h)])
  return bin_img

# 画像ファイルの読み込み
img = Image.open("../images/mori.jpg").convert("RGB")
w, h = img.size
# 画像を2値化して保存する
imgb = to_bin(img, w, h)
imgb.show()
imgb.save("./bin_median_mori_ux.jpg")
元の画像
処理後の画像
- 二値化処理(大津の方法)
サンプルです。
from PIL import Image, ImageDraw
import numpy as np

def select_color(threshold,color):
  mean = np.array(color).mean()
  if mean > threshold:
    return (255, 255, 255)
  else:
     return (0, 0, 0)

def to_bin(img, w, h):
  #各画素値のr,g,bの平均を求める
  means = np.array([[img.getpixel((x,y)) for x in range(w)]
                          for y in range(h)]).mean(axis=2).reshape(w * h,)

  # ヒストグラムを作る
  hist = np.array([np.sum(means == i) for i in range(256)])

  max_v = 0
  threshold = 0
  # 0から255まで順に計算し、適切な閾値を求める
  # 閾値より大きい画素値をクラス1、小さい画素値をクラス2とする
  for th in range(256):
    n1 = sum(hist[:th])                                 # クラス1の個数
    m1 = np.dot(hist[:th], np.array(range(256))[:th])   # クラス1の値の平均
    n2 = sum(hist[th:])                                 # クラス2の個数
    m2 = np.dot(hist[th:], np.array(range(256))[th:])   # クラス2の値の平均
    if n1 == 0 or n2 == 0:
      v = 0
    else:
      # クラス間分散の分子を求める
      v = n1 * n2 * (m1 / n1 - m2 / n2) ** 2
    # クラス間分散の分子が最大となる閾値を更新していく
    if max_v < v:
      max_v = v
      threshold = th

  bin_img = Image.new('RGB', (w, h))
  np.array([[bin_img.putpixel((x, y), select_color(threshold,
                  img.getpixel((x,y)))) for x in range(w)] for y in range(h)])
  return bin_img

# 画像ファイルの読み込み
img = Image.open("../images/mori.jpg").convert("RGB")
w, h = img.size
# 画像を2値化して保存する
imgb = to_bin(img, w, h)
imgb.show()
imgb.save("./bin_otu_mori_ux.jpg")
元の画像
処理後の画像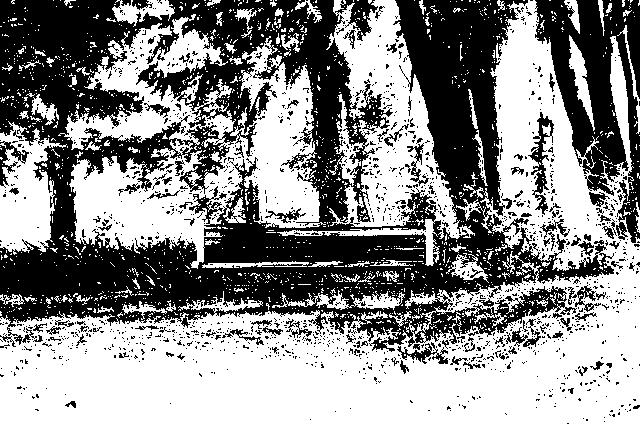
- 参照ページ
Python 画像処理
- リリースノート
- 2023/03/11 Ver=1.03 Python 3.11.2 で確認
- 2020/10/27 Ver=1.01 Python 3.9.0 で確認
- 2018/11/10 Ver=1.01 初版リリース
- 関連ページ